Workflows
Workflows and Project settings
Project Settings provide the option to design and edit your own workflows in order to keep you project well organized. By defining responsibilities for each team, you ensure that participants work only in the area they are assigned to.
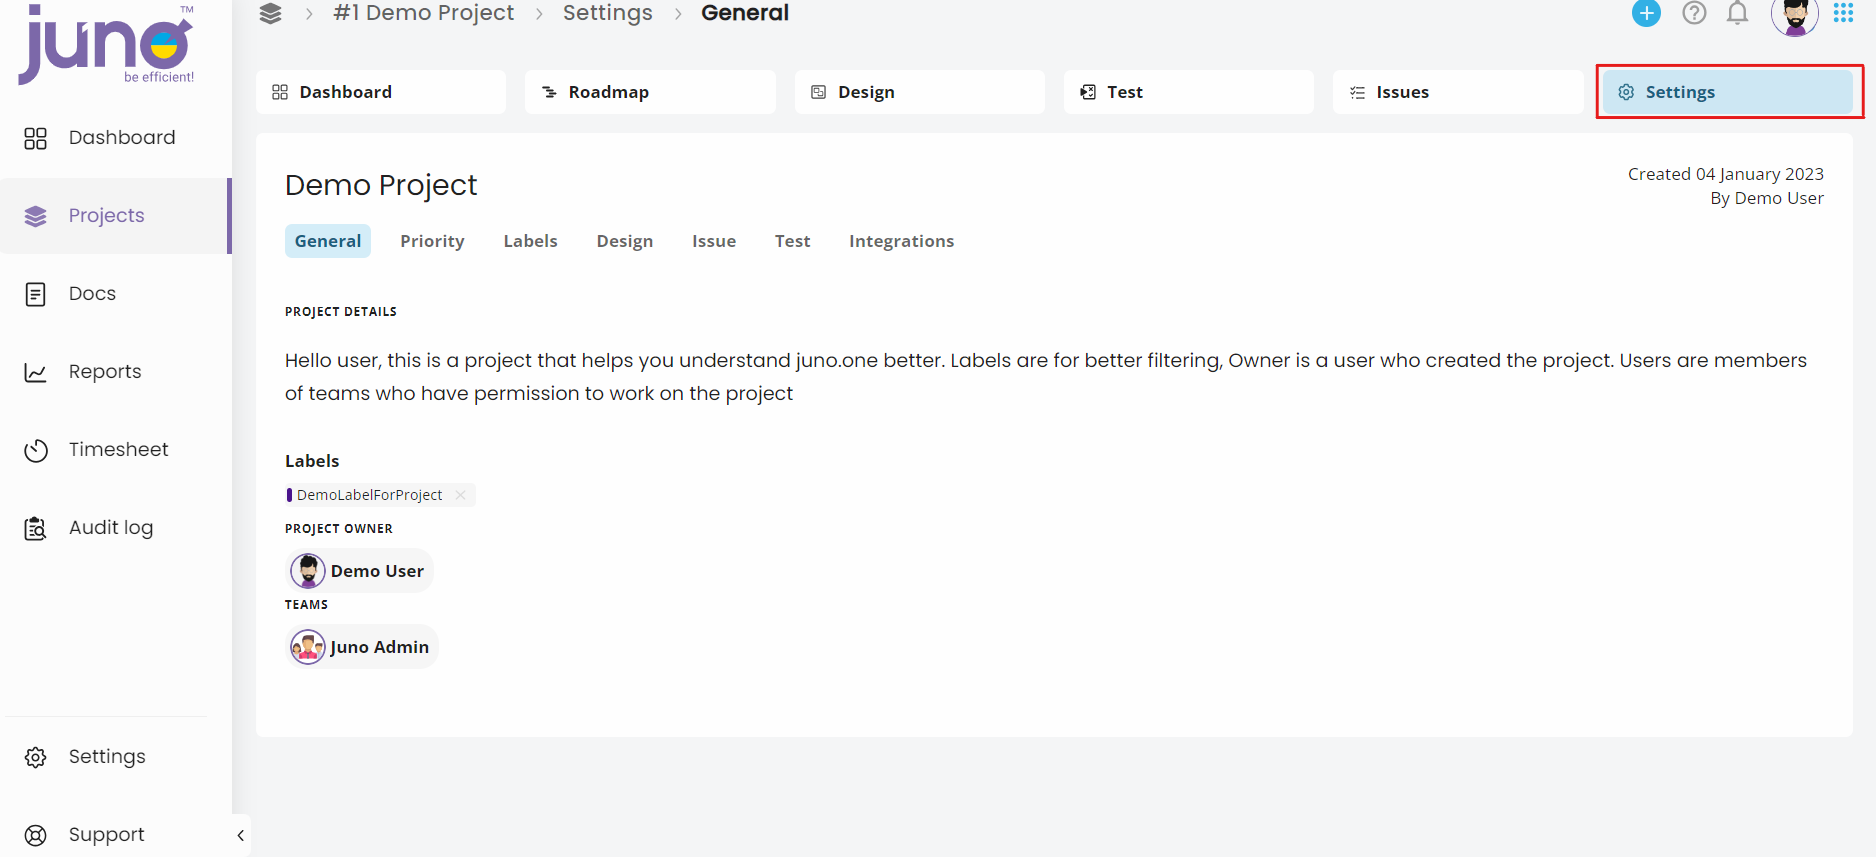
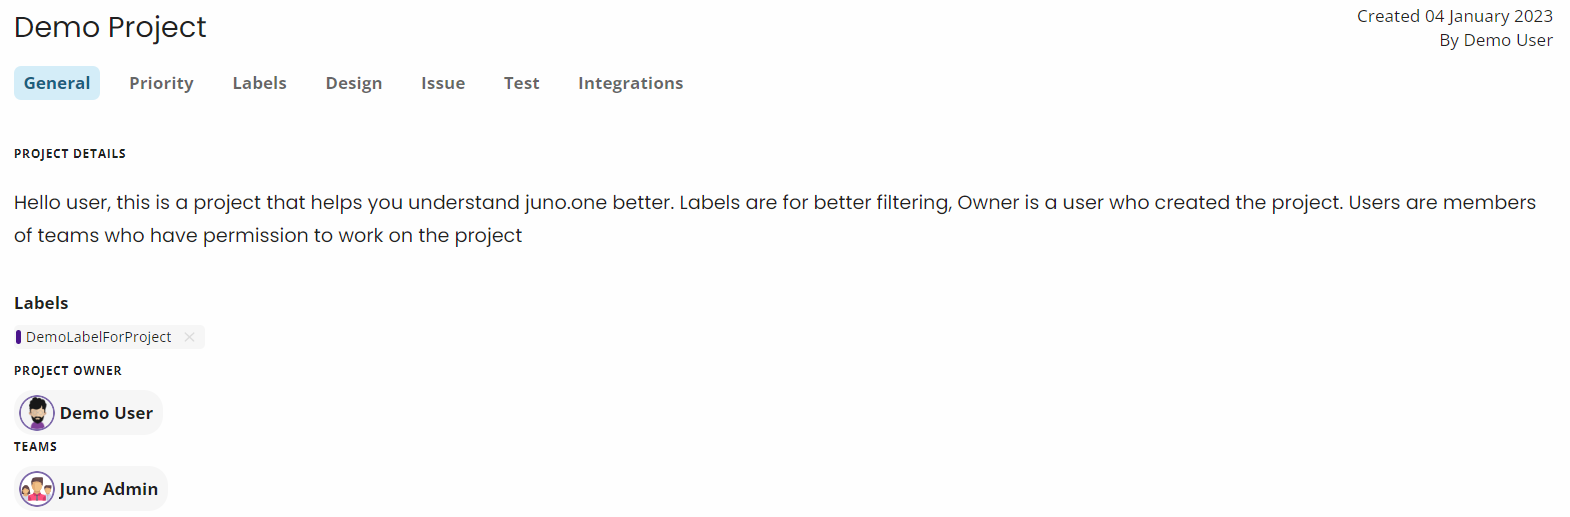
On the General Settings screen you can also manage basic project entities such as project name, description, project owner, teams and labels.
Priorities
To determine which parts of the project are the most important or urgent, you can use the predefined set of priorities or create your custom ones.
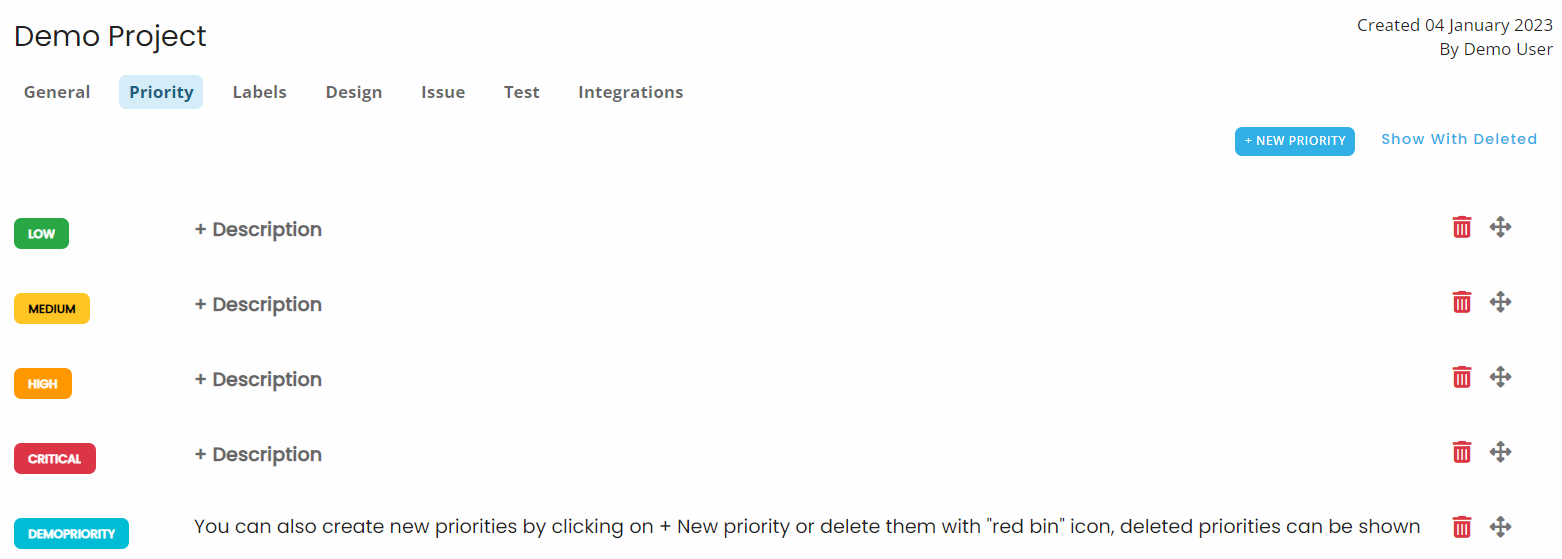
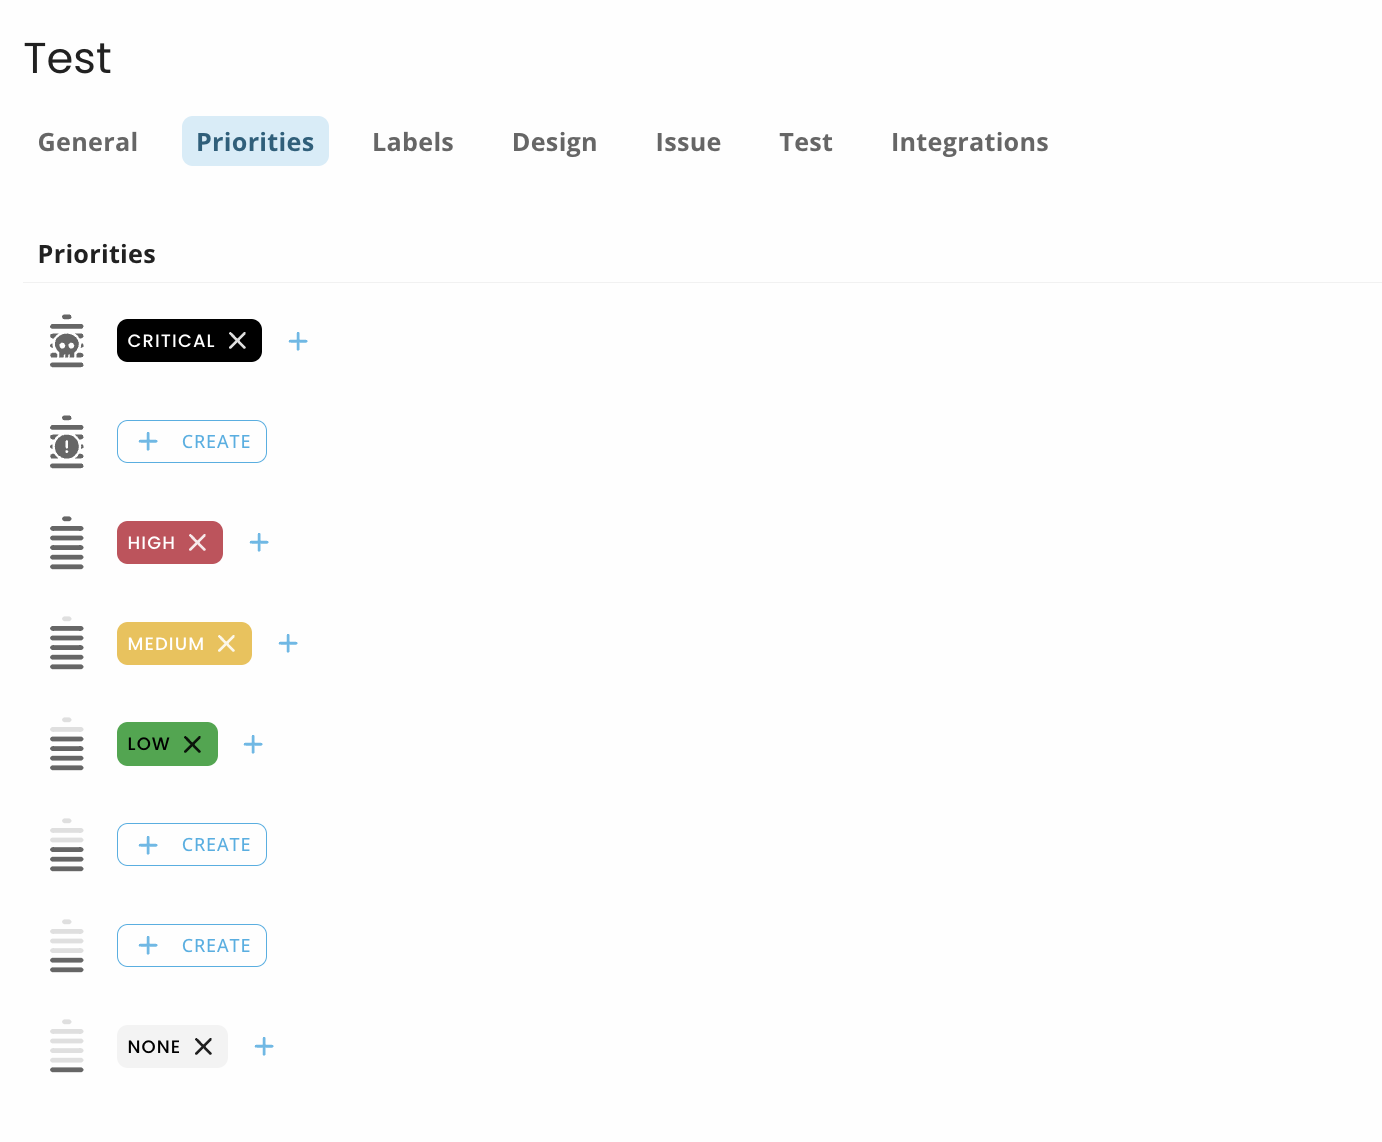
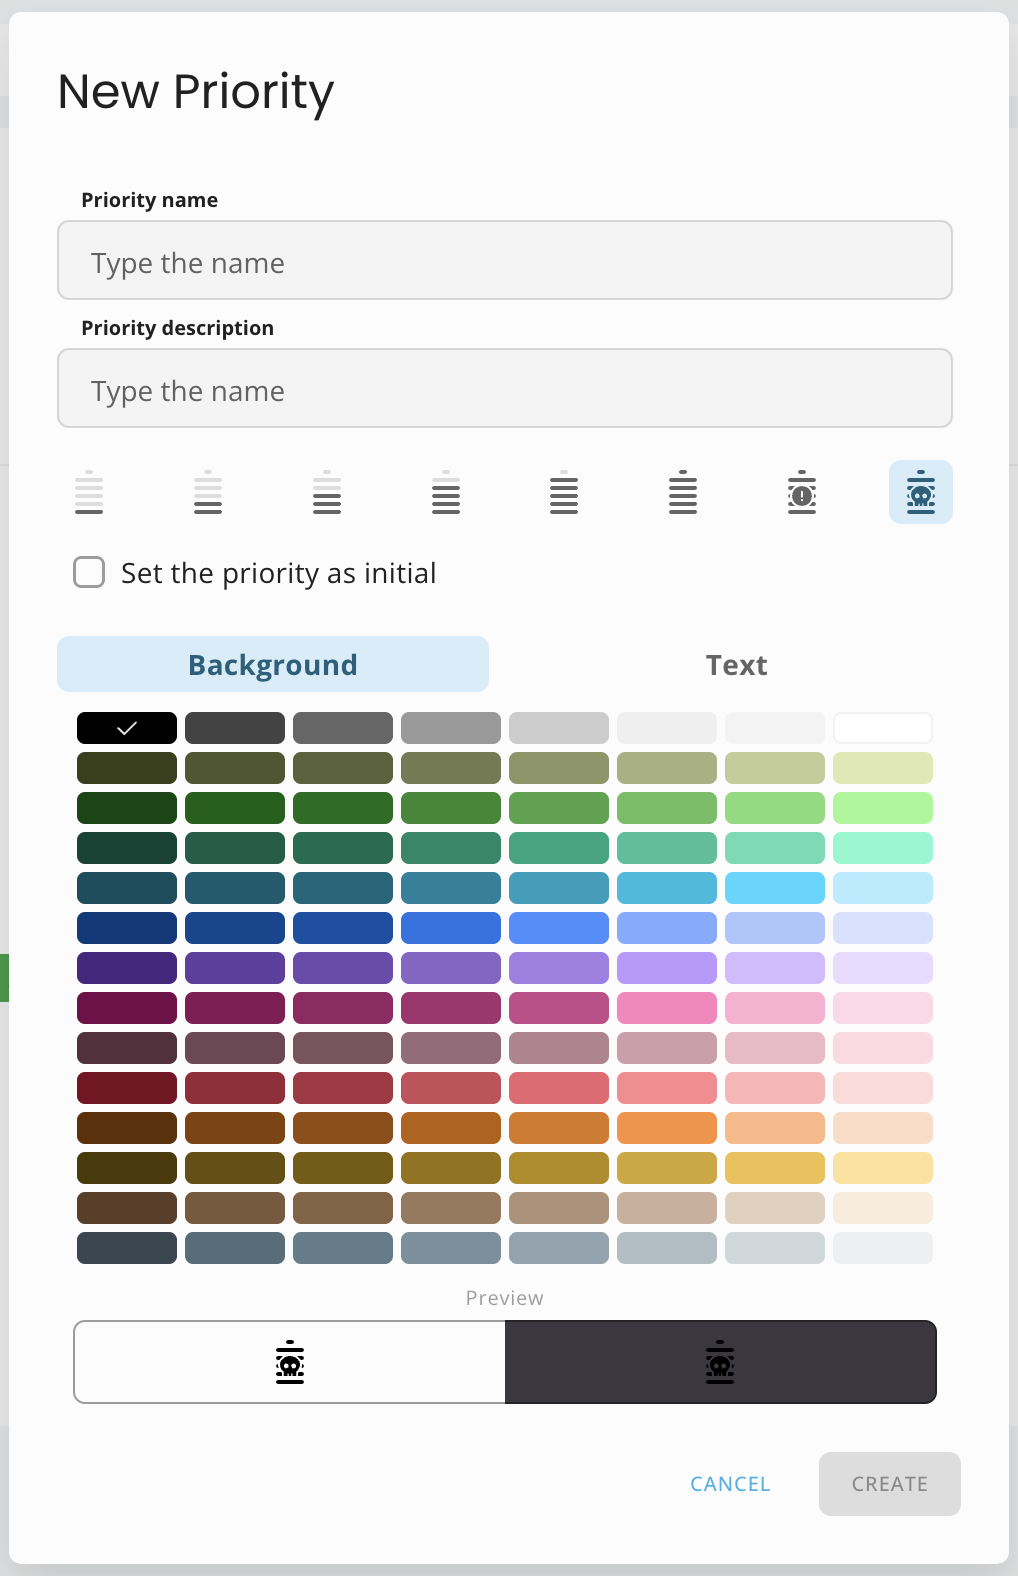
To create a new Priority: - Click on the + Create / + button. A modal window will appear:
-
Enter a name and a description of the priority
-
Select an icon appropriate for the priority, and choose a background and text color for the new priority
-
You can also set the priority as initial for newly created items
-
When name and color are selected, click on Create and the window closes automatically
-
The newly created priority appears at the priority line assigned to the icon you selected for it
Note: if no other priority is set as initial, the pre-defined LOW priority will be the initial one. Also, the initial priority can not be deleted.
If you delete a priority that is assigned to some entities, you will get an option to migrate the entities to a different priority.
- The created Priority appears at the bottom of the Priorities list

To change the Priority position in the list:
- Click on the Move icon of Priority and move it to another position in the list by using drag and drop
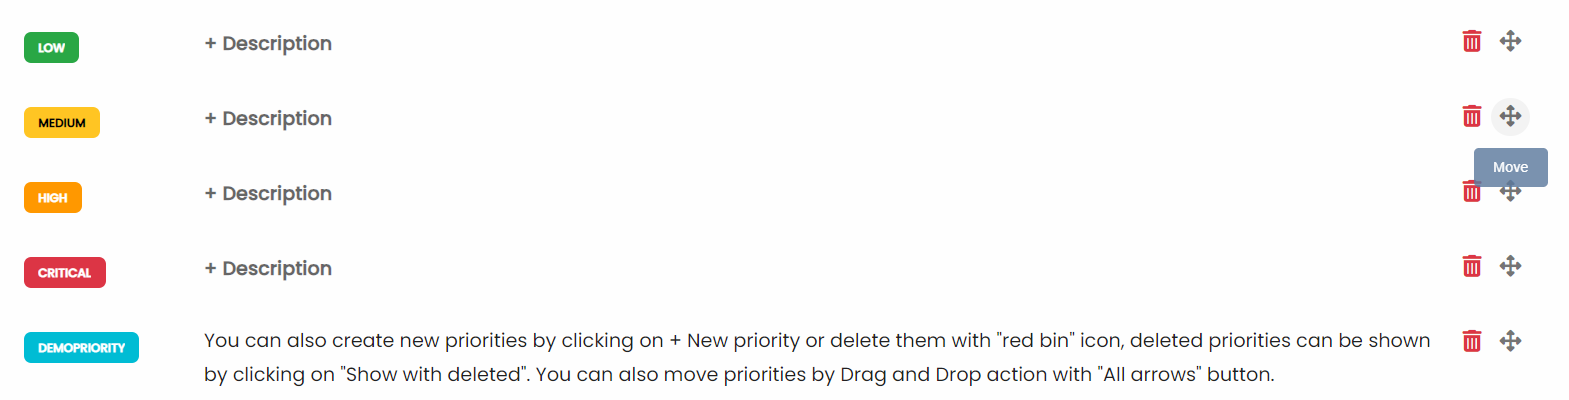
The priority on the top position in the list is automatically assigned to all newly-created Issues
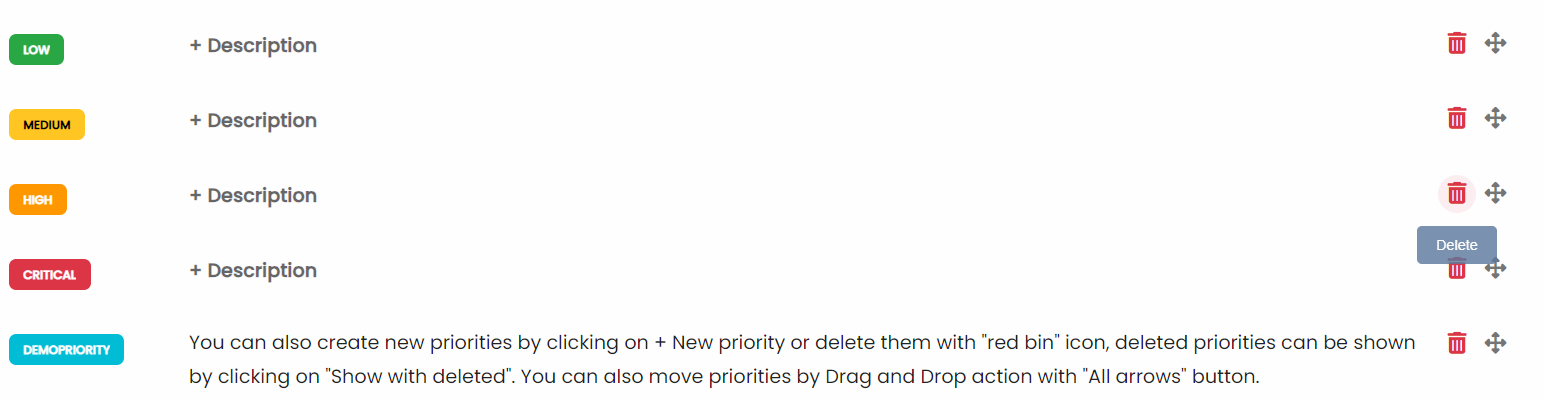
To delete a Priority from the list:
- Click on the bin icon
Workflow settings
Design, Issue and Test tabs of the Project settings allow users to design the workflow processes.
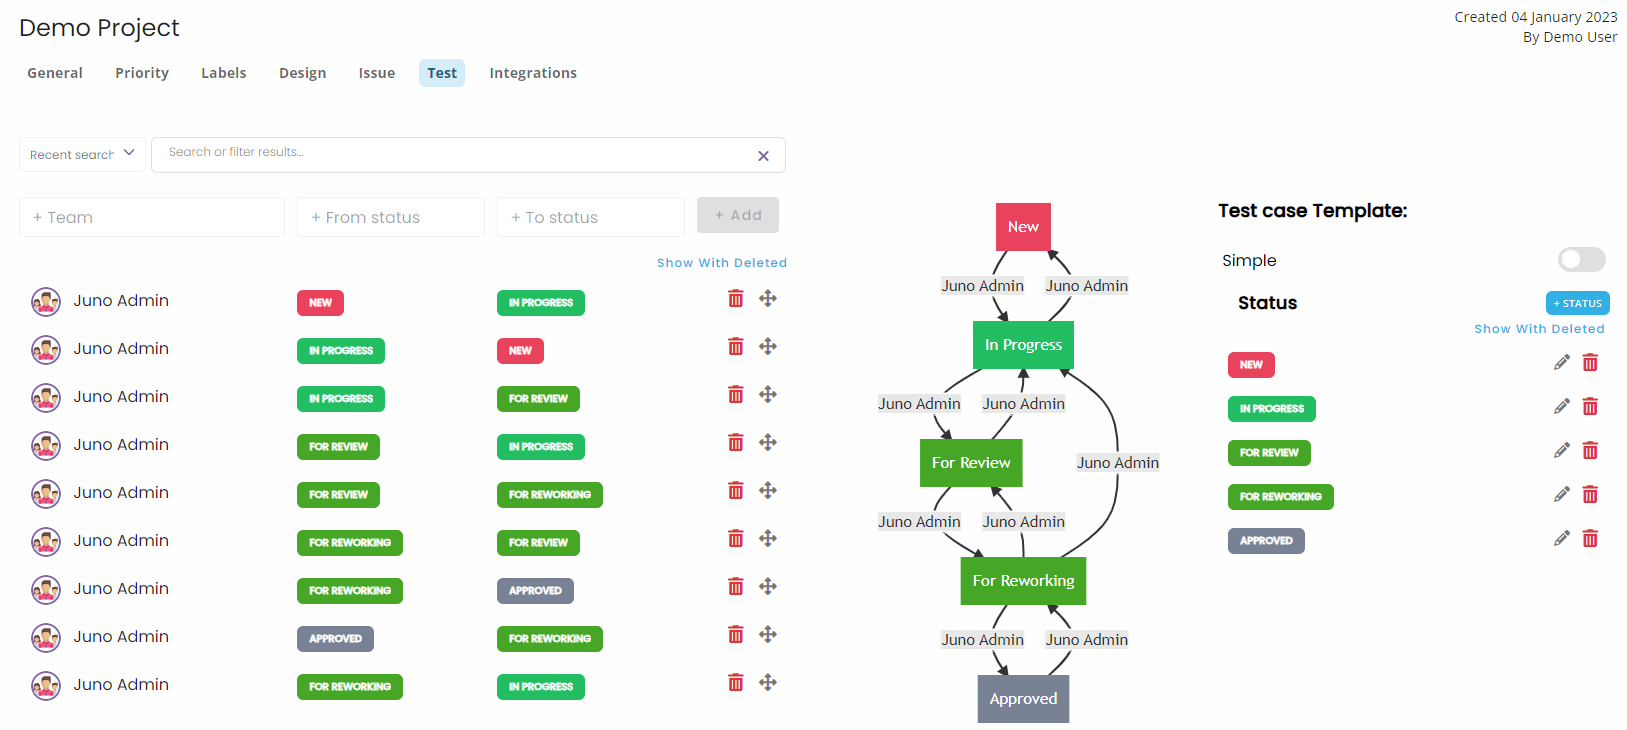
One working team can be assigned to multiple workflows and one workflow process can be performed by multiple teams.
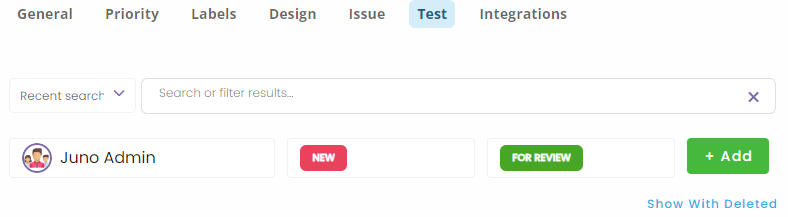
To create a new Workflow process:
-
Click into the +Team input box to set a team participating in workflow
-
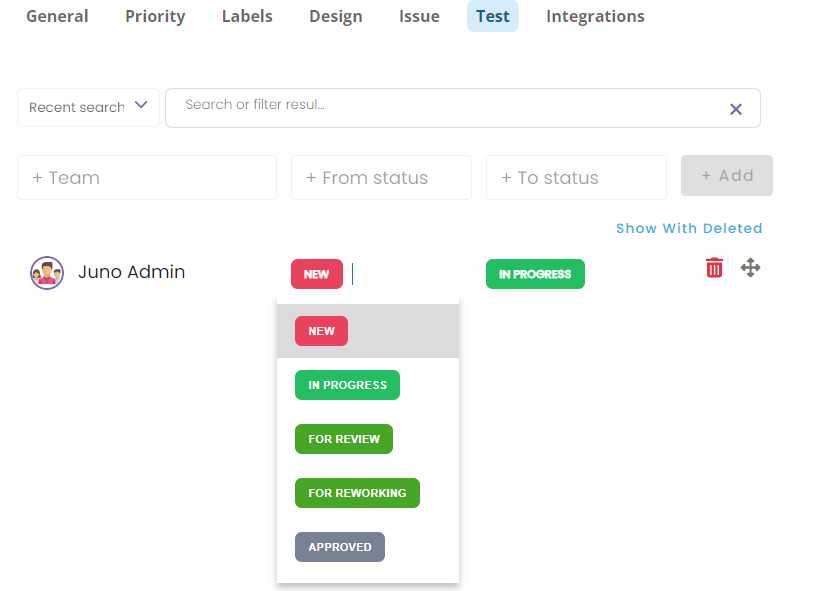
Click into the +From status input box to set a starting status
-
Click into the +To status input box to set an ending status
-
Click on the "+Add" button to create a workflow chart
If you want to change the working team or any status of the current workflow, all parts can be modified by clicking on the corresponding entity in the workflow list.
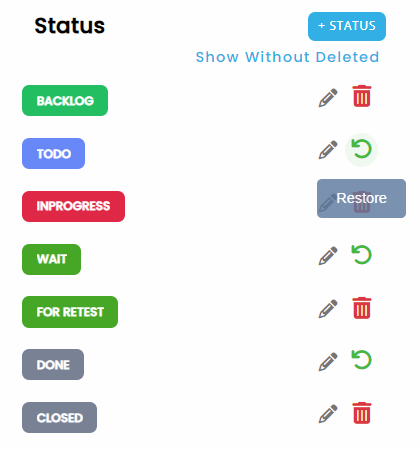
Statuses
Design, Issue and Test subsections of project Settings allow the user to define and manage custom statuses. Statuses represent various stages of a workflow process that can be assigned to their respective module.
To create a new Status:
-
Click on the +Status button
-
Enter a name and select a color for the new Status
-
When the name and color are selected, click on Create and the pop-up window closes automatically
-
The created Status appears at the bottom of the Status list

To change the Status position in the list
- Click on the Status icon and move it on another position in the list by using drag and drop

To delete a Status from the list:
- Click on the bin icon
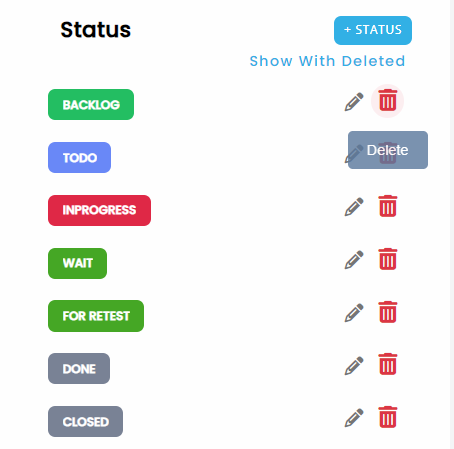
To display and/or restore deleted Statuses:
-
Click on Show with deleted
-
Click on the green Undo button to restore the previously deleted Status
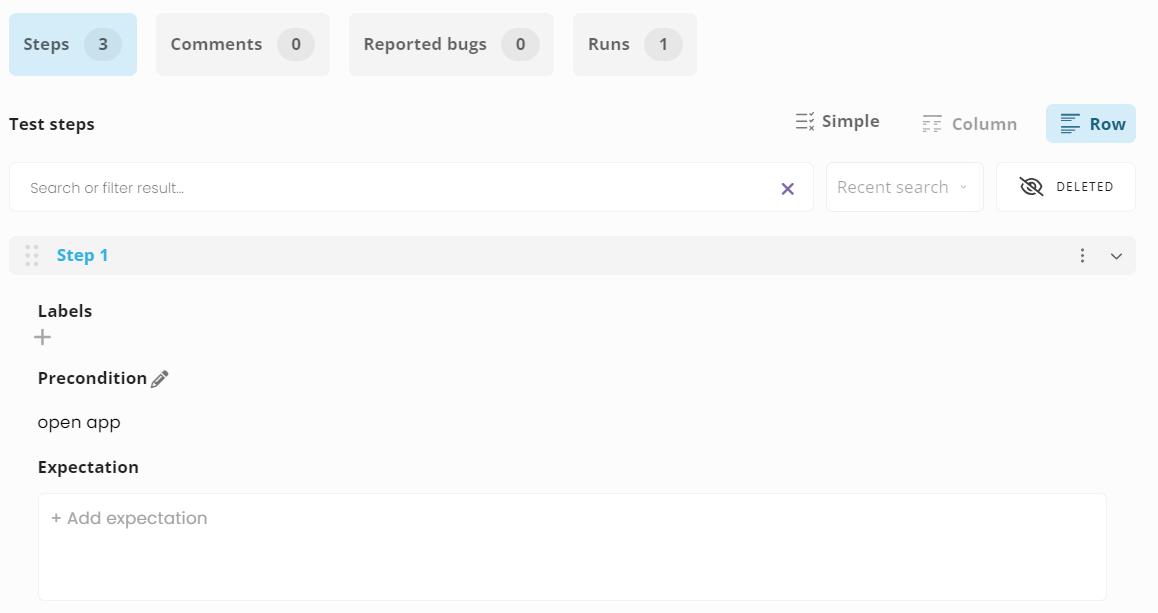
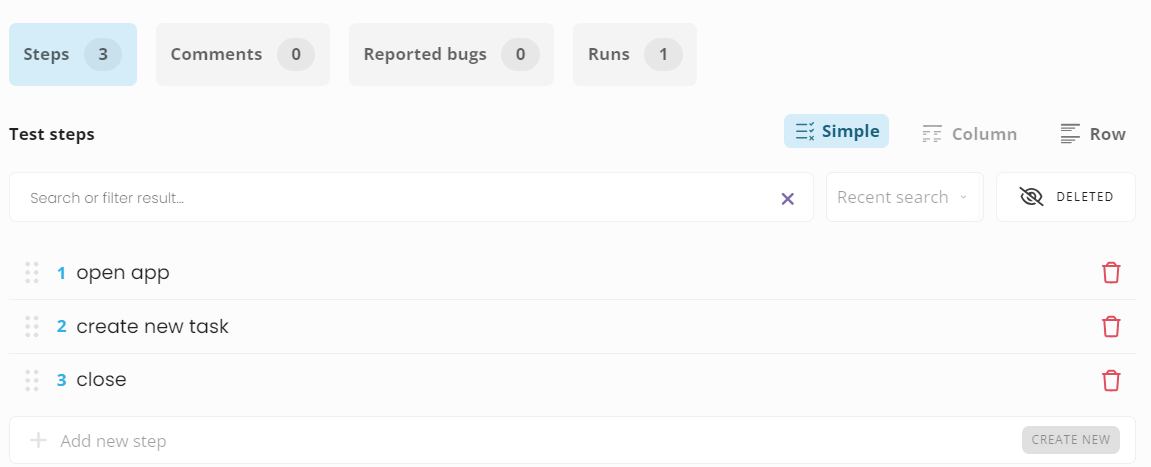
Test case template
The Test tab in the Workflow settings includes a toggle for switching between Simple and Robust test case view.

Test cases displayed in simple view show nothing more than a column's id, Description and Delete button
compared to the Robust view, where the Labels, Precondition and Expectation fields are displayed in addition.
Test case simple view
Test case robust view (default)